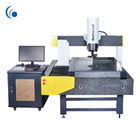
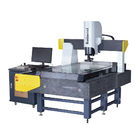
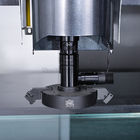
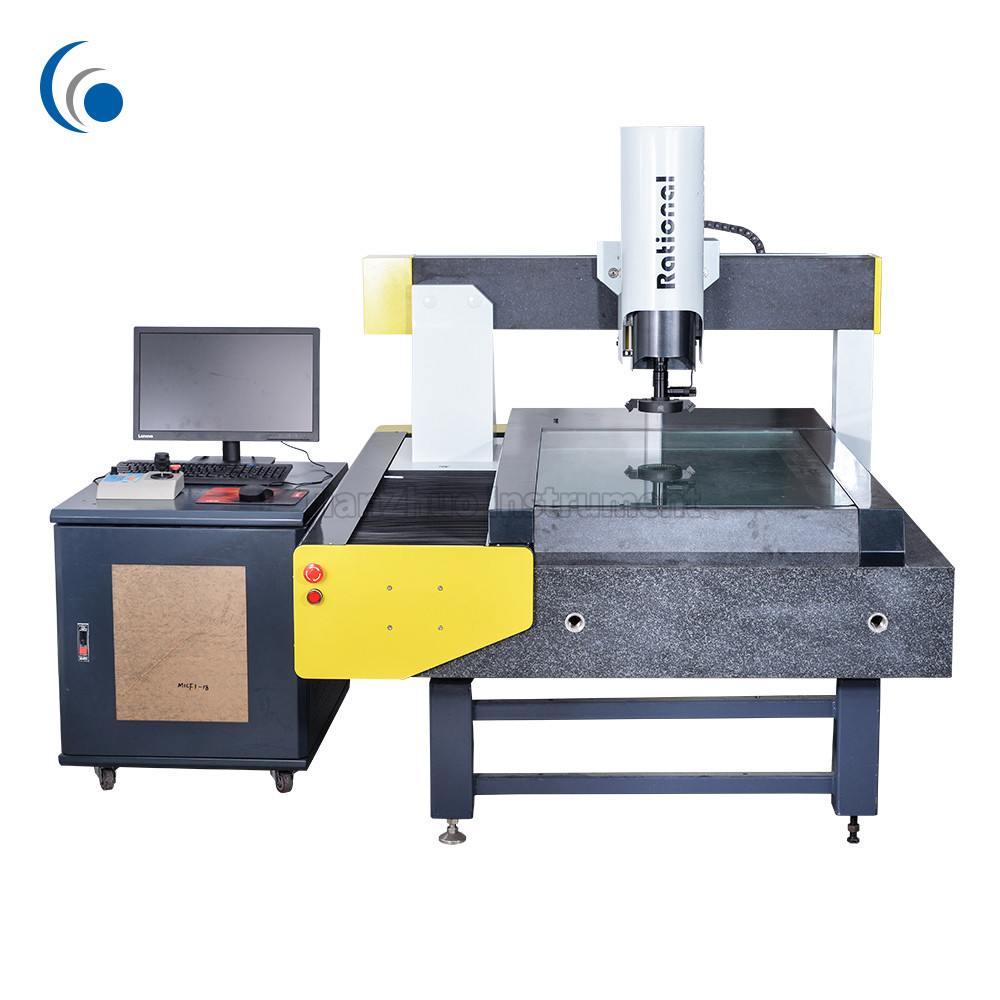
Long travel CNC video measuring machine 800*1000 mm for measuring precision parts
Automatic Video Measuring Machine
Applications:
Mainly applied in two-dimensional field, the instrument can also be used for three-dimensional auxiliary meaurement. It’s widely used in machinery, mould, electronics, meter, hardware, plastics, etc.
-----Features-----
01. Larger travel distance and wider measurement range
02. Independently developed QMS3D software, which can meet different measurement requirements of customers
03. With fast automatic focus, automatic edge finding, powerful programming and automatic measurement functions
04. Sub-pixel subdivision technology is adopted to improve boundary resolution
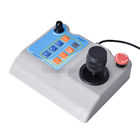
05. Equipped with control handle or software program control
06. SPC data processing and analysis, and mass fixture measurement
07. X, Y, Z axis servo control, high positioning accuracy, fast speed, smooth operation
08. Adopt the self-developed embedded module control system, integrate the complex control system into the instrument, and achieve higher stability
09. Program-controlled constant-current driven eight-zone surface cold light source, suitable for complex workpiece measurement
10. X and Y guides adopt high-precision granite, with high stability and rigidity, not easy to deform
11. The X and Y moving parts adopt low friction, high speed and high precision air floating moving guidance system
12. Adopt the same cloth belt or screw drive, with high precision and good stability
13. Good straightness of granite and flatness of glass, no friction and wear of granite guide rail
14. The specific location of the measured workpiece can be found through the laser pointer, which can be quickly located and convenient
-----Technical parameters-----
| Model |
VMS-0810H |
VMS-1012H |
VMS-1215H |
VMS-6060H |
VMS-6090H |
| Worktable |
Glass worktable size(mm) |
1208*885 |
1408*1085 |
1708*1285 |
640*770 |
640*1070 |
| Travel(mm) |
800*1000 |
1000*1200 |
1200*1500 |
600*600 |
600*900 |
| Axis X, Y, Z resolution |
0.5μm |
| Accuracy(μm) |
E1xy=(3.0+L/200) |
E1xy=(2.5+L/200) |
| Dimension(mm) |
2170*2380*1560 |
2370*2580*1560 |
2570*2880*1560 |
1500*1300*1510 |
1800*1300*1510 |
| Weight(kg) |
3260 |
3750 |
4520 |
1280 |
1500 |
| Axis Z travel(mm) |
200mm |
150mm |
| Rated power |
1800W(computer excluded) |
1000W(computer excluded) |
| Video system |
Camera |
1/2” color CCD camera |
| Varifocal lens |
0.7X~4.5X |
| Total magnification |
20~128X(19.5 inches display. Resolution:1440*900) |
| Object view |
11.1mm~1.7mm |
| Power supply |
AC 110V-240V 50/60Hz |
| Air pressure |
≥0.5Mpa |
| Air flux |
120L/min(0.4Mpa) |
| Temperature |
20±2°C<1°C/h <2°C/24h <1°C/m |
| Humidity |
55%~65% |
| Remark: Object view refers to the length of diagonal line. |
| Optional auto zoom lens, coaxial light lens, laser shifter and MCP probe are available. |
-----Applications-----
This series of products adopt air floating and servo control technology, combined with the QMS3D automatic measurement software independently developed by the company, which can achieve efficient and accurate mass workpiece measurement, and is suitable for precision parts detection and quality control.In machinery, electronics, hardware, plastic and other industries have been widely used.
-----Exporting package details----
1. Silver bag inside
2. Wooden case with pallet outside
3. Total volume is arount 1-2CBM
4. Suitable for exporting, suitble for loading and unloading
Package photos for reference:


-----Detailed pictures----

 Your message must be between 20-3,000 characters!
 Please check your E-mail!
  Your message must be between 20-3,000 characters!
 Please check your E-mail!
